Nosto is a marketing service for online shops. With this service you can show products of interest to returning customers in your shop or send emails to customers that leave the shop in the middle of placing an order.
Introducing the Nosto sevice in your shop
- Register with Nosto on the Marketing > Nosto > Register page.
- Fill out/double check the information in the form and tick the box "I have read and agree to the terms and conditions".
- Click the "Register" button - you will then get a message that Nosto has sent log in instructions to your email address.
- Confirm the registration by following the instructions in the email.
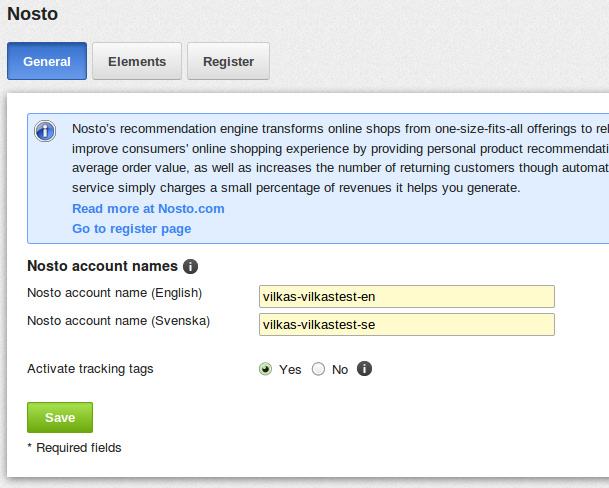
Nosto settings on the shop's administration pages - General
Once the registration is complete the tracking tags will automatically start (General > Activate tracking tags > Yes). The elements will not be visible for your customers though, but Nosto will straight away start collecting information.
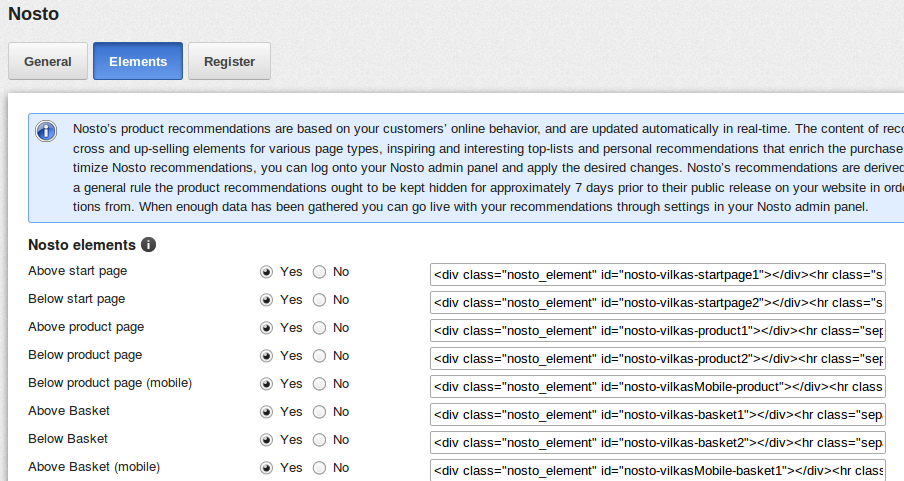
Nosto settings on the shop's administration pages - Elements
On the "Elements" page there are ready elements from Nosto that you can set to be shown to your customers. There are also separate elements to use for customers that are viewing your shop via their mobile. It can be benefitial to use the elements in several different places in order to activate the customers to browse and shop more.
After each element there is a text field (shown once you click the "Show the Nosto html tags" link) with a ready made code for each element. The code tells you what is shown to the customers in your shop. Equivalent codes are found in Nosto's own admin panel.
Note! Even though the elements are set to "Yes" they are still not shown to the customers in the shop. The element is activated as visible from Nosto's own admin panel, although there is no point to do this until 7-14 days after the element was activated from the shop.
Nosto's admin panel
Log in to Nosto's admin panel by filling in your email address and password on my.nosto.com and clicking the account you created.
On the Dashboard page you can see what is happening in your shop at this moment. You can see how many customers are in your shop, how many has added something to the shopping basket etc.
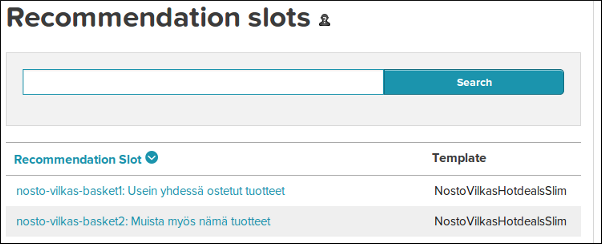
On the Campaigns > Recommendation slots page you can find the created elements. The names of the elements are the same as the names on the shop's administration page Marketing > Nosto > Elements (for example id="nosto-vilkas-basket1"). Click the name of the element in order to see more detailed information.
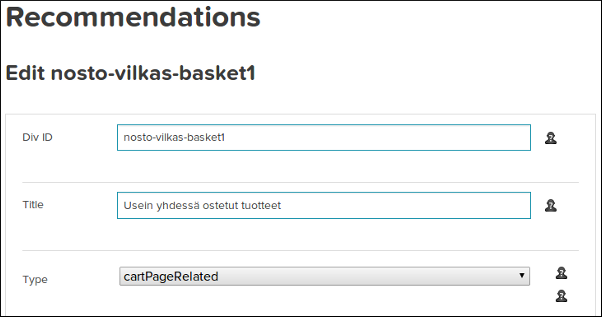
- If you would like to change the information that is shown for the element, simply change the "Type" to a different alternative.
- If you would like to change the way the element is presented, simply change the "Recommendation templates" to a different altenative (for example NostoVilkasHotdealsSlim).
- The changes are made to the shop after a few minutes.
When you would like to activate the Nosto elements as visible to the customers you choose Account > Recommendation visible > Yes.
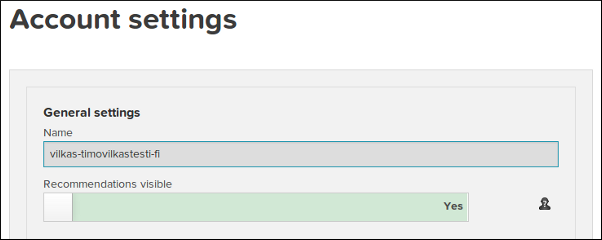
By using this basic information you have already taken a big step into the Nosto world.
Nosto and shared SSL
The shops are using a shared SSL certificate that uses the address "secure.vilkasgroup.com" for a secure connection. That address must be added to Nosto's settings under Settings > Account settings > Other hosts used by the site in order to send information about orders to Nosto.

