Support - Vilkas Now
Are you looking for Vilkas Suite support?
Vilkas Suite supportEmail events
For certain events your shop sends emails either to you or to your customers.
For example, your customers can receive the following automatic emails:
-
Order receipt confirmation for an order
-
An order has been dispatched
Examples of emails that you can receive automatically as an administrator:
-
The minimum stock level of a product has been reached
-
A product in your shop has sold out
In most cases, you can specify yourself the events for which emails are sent. In addition, you can edit the text of these emails, as well as determine who is to receive them and what the sender address should be.
For most emails, there is already a default text set up that you do not need to change. An important exception is the order confirmation email that your customers receive. Legally it might be necessary that you add your general terms and conditions and information on the right of withdrawal to these.
How do I specify for which events my shop sends emails?
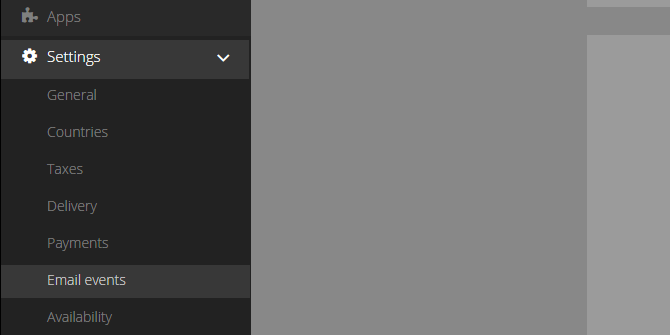
1. In the administration area in the main menu, select Settings and then Email events.

2. Select above whether you would like to edit the Emails to the customer (your shop’s visitors) or the Emails to the administrator (to you yourself).

3. The table below displays the email events. To allow more information about the individual event to be displayed, select the information symbol.

4. In the Active column on the right, you can select whether your shop should send an email when this event occurs.

5. Save the changes

How do I edit the text, sender, recipient and signature of emails that my shop sends?
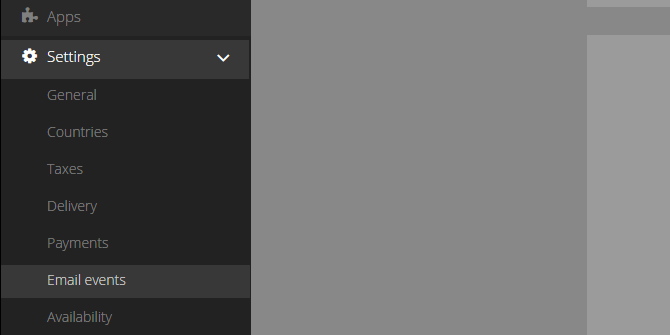
1. In the administration area in the main menu, select Settings and then Email events.

2. Select above whether you would like to edit the Emails to the user (your shop's visitors) or the Emails to the administrator (to you yourself).

3. The table below displays the email events. To allow more information about the individual event to be displayed, select the information symbol (circle with the letter i). Select the email event that you would like to edit.
4. To change the sender for this email event, select the link Edit next to From. Enter the desired sender address and name here under which the email should be sent. You can also choose to have the specified address used for email events in the future. Next select Apply.
Do not use any email addresses from email services such as Google Mail, AOL or Yahoo here, because this may cause problems delivering your messages. We recommend that you use an email address that matches the domain of your shop. Example: info@yourshop.com
5. For emails that are to be sent to your visitors, you cannot change the recipient email address – the user's most recent email address will always be used. However, for emails that are sent to you, you can change the recipient by selecting the link Edit next to To. Enter the desired recipient address and name here. Next select Apply.
6. Should the email be sent not only to the specified recipient, but also to additional addresses? If yes, you can then specify additional recipients under Copy and Blind copy. The recipients specified under Blind copy are not visible to other recipients.
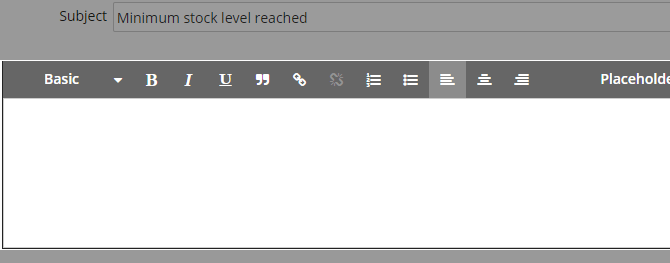
7. If you would like to change the subject of the email, edit the field Subject.
8. The text of the email is shown below the Subject field. Every email has a main text that you cannot edit. However, you can edit the other, bordered areas of the email.

The signature at the very bottom is a special feature. If you change the signature, this change applies for all email events in the selected language. The signature only appears in emails that are sent to your customers, not in the ones that are sent to you.
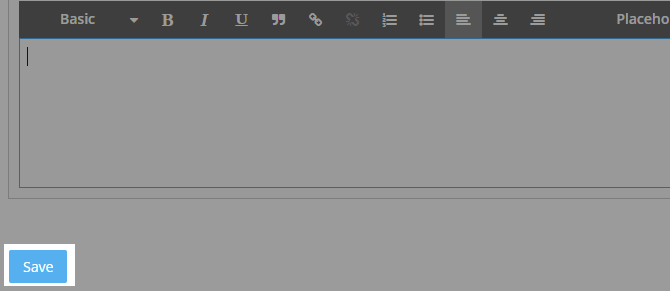
9. Save the changes.

10. If needed, you can send a test email to yourself to verify how the email is displayed. To do this, select Send test email.

Using placeholders in emails
You can also insert placeholders into the subject line and text of emails, that are then automatically replaced with the specific data. For instance you can add placeholders for the customer’s name or the order number.
-
To use a placeholder in the Subject, select Insert placeholder next to the subject field.
-
To use a placeholder in a text field, select Placeholders at the top of the text field.
Attaching documents to emails
You can automatically add documents such as your Terms & Conditions to certain emails as a PDF file. Select Attachment of legal documents and determine which documents should be attached to which emails. The legal documents are automatically generated from your legal pages. Please note that you need to activate an email event before you will be able to attach documents to it.