Support - Vilkas Now
Are you looking for Vilkas Suite support?
Vilkas Suite supportUsing custom CSS
CSS is a design language that is used on most websites. You can customize your shop’s design by using custom CSS code.
With custom CSS you can for instance change the following aspects of your shop:
-
Colors
-
Fonts
-
The size of the logo
-
Visibility of elements
The changes are valid for your whole shop, not only the page that is opened in the editor while you edit the CSS code. However, custom CSS code does not have any impact on the design of your shop’s checkout.
The preferred way of changing your shop’s colors is changing them as described in the article Changing the colors of your shop. If you change colors via custom CSS this may override these color settings.
Modifications to the CSS code can have a negative impact on the design and functionality of your shop, and may also affect the responsive design of your shop.
Custom CSS code should only be entered by experienced users. Check your shop carefully after making any changes. Please note also that the automatically installed updates have an impact on the program code of your shop. Hence, perform regular checks on whether the CSS code you entered still serves its purpose and whether it affects the design or functionality after the update.
1. In the administration area in the main menu, select Editor.
2. On the right side at the bottom of your shop select the paint brush symbol.
3. Select </>.
4. Add your custom CSS code.
5. Select Save.
6. Select View your shop and check if the changes you made are displayed correctly and if any problems occur.
The custom CSS code settings are only applied to the currently selected style. If you change the style or theme, settings previously configured will no longer be taken into account. When you switch back to the previous style, the settings will once again take effect.
Examples of code snippets
In this example the icon "\ f0ab" from the Font Awesome icons, has been added in front of the original price. You can change the icon in the "content" line to another icon, which can be browsed here: https://fontawesome.com/icons

/* adds an image for discount prices */
.body h3.product-item-price-old:before,
.body h3.product-info-details-price-old:before {
display: inline-block;
font: normal normal normal 14px/1 FontAwesome;
font-size: 25px;
text-rendering: auto;
-webkit-font-smoothing: antialiased;
-moz-osx-font-smoothing: grayscale;
margin-right: 12px;
content: "\f0ab";
color: red;
}
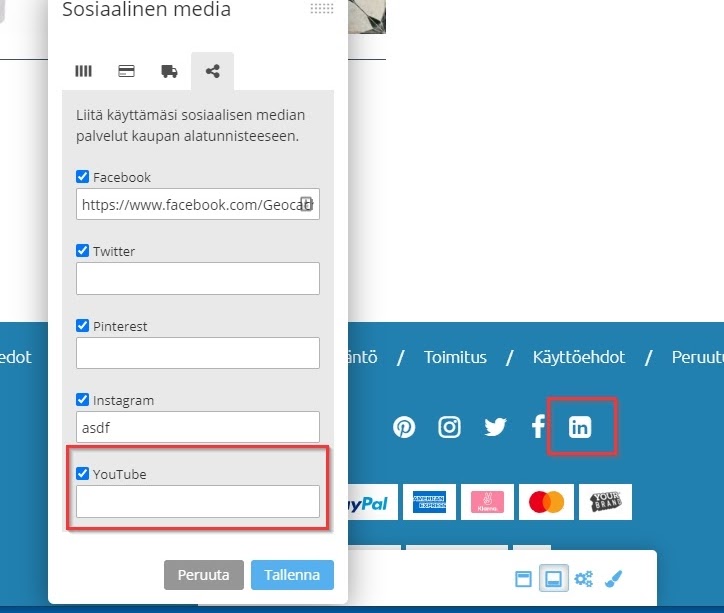
In this example, the YouTube icon is replaced with a LinkedIn icon.

/* replaces youtube icon with linkedin */
.body span.social-media-youtube::before {
content: "\f08c" !important;
}
This example will enable the usage of the Lato font from Google Fonts store: https://fonts.google.com/

/* Changes font (Google fonts) */
@import url('https://fonts.googleapis.com/css?family=Lato&display=swap');
body, .body h2, .body h3, .body h4, .body h5, .body h6 {
font-family: 'Lato', sans-serif;
}
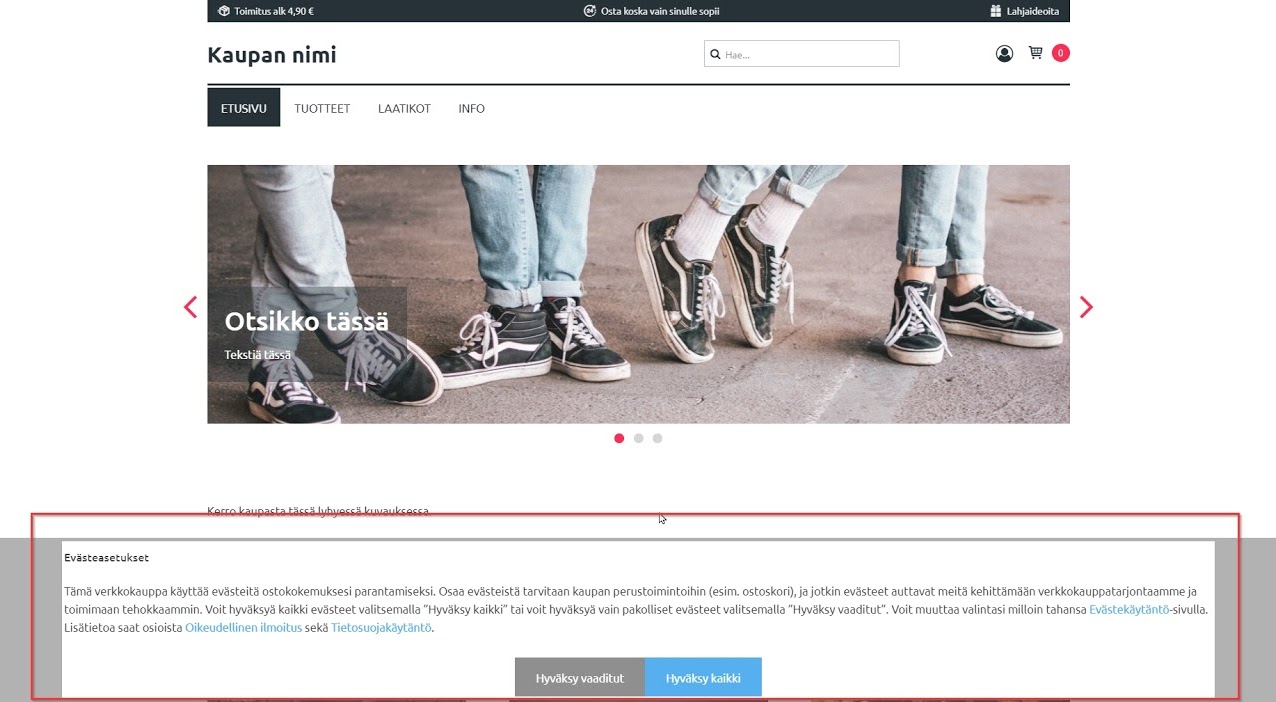
Use this example code to move the cookie notification to the bottom of the screen.

/* Cookie notification to bottom */
.body .lightbox-backdrop {
top: unset;
}
.body .cookie-consent {
max-width: unset;
padding: 3px;
margin: 5px;
width: 90%
}
.body .cookie-consent-buttons {
margin: auto;
min-width: 300px;
}
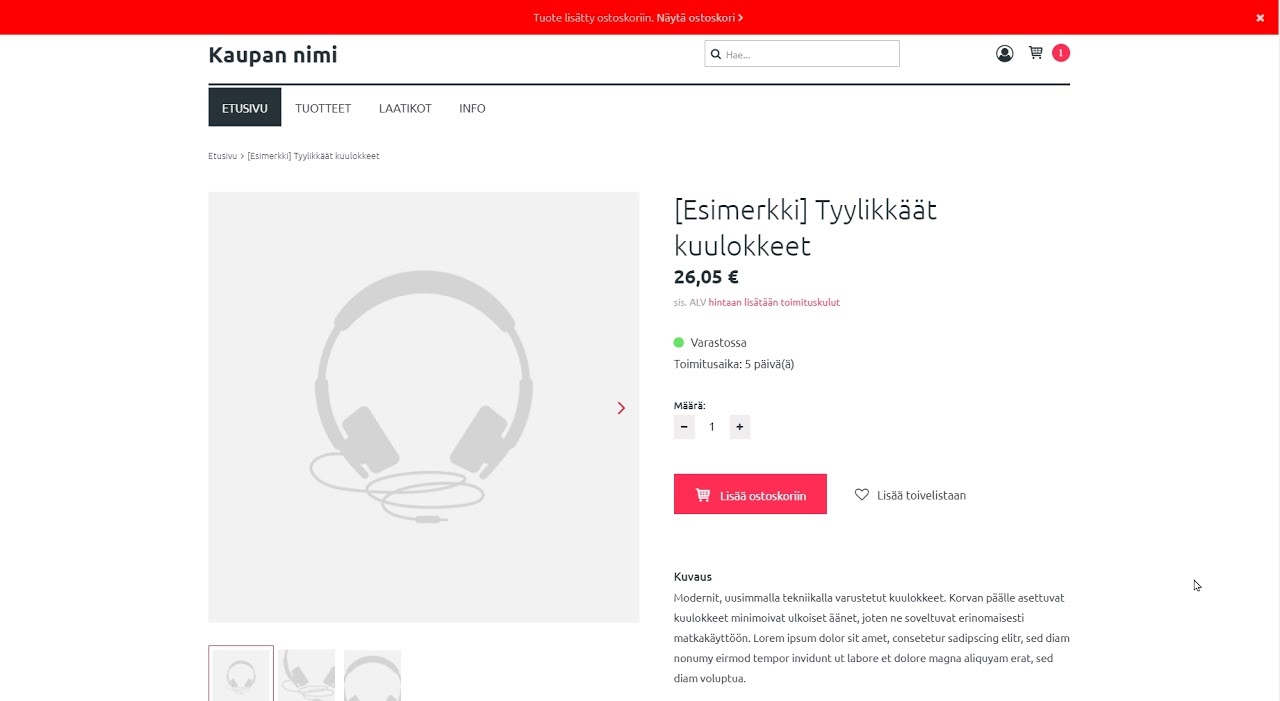
This example code will change the colour of the Add to basket button.

/* changes the background of add to basket */
.body .add-to-cart-notice-success {
background-color: red;
}
Your shop software automatically checks whether the CSS code you enter is valid.
When you are changing colors, you might have to adapt the margin and padding of certain elements.
For the custom CSS code it is not necessary to enter a stylesheet type.